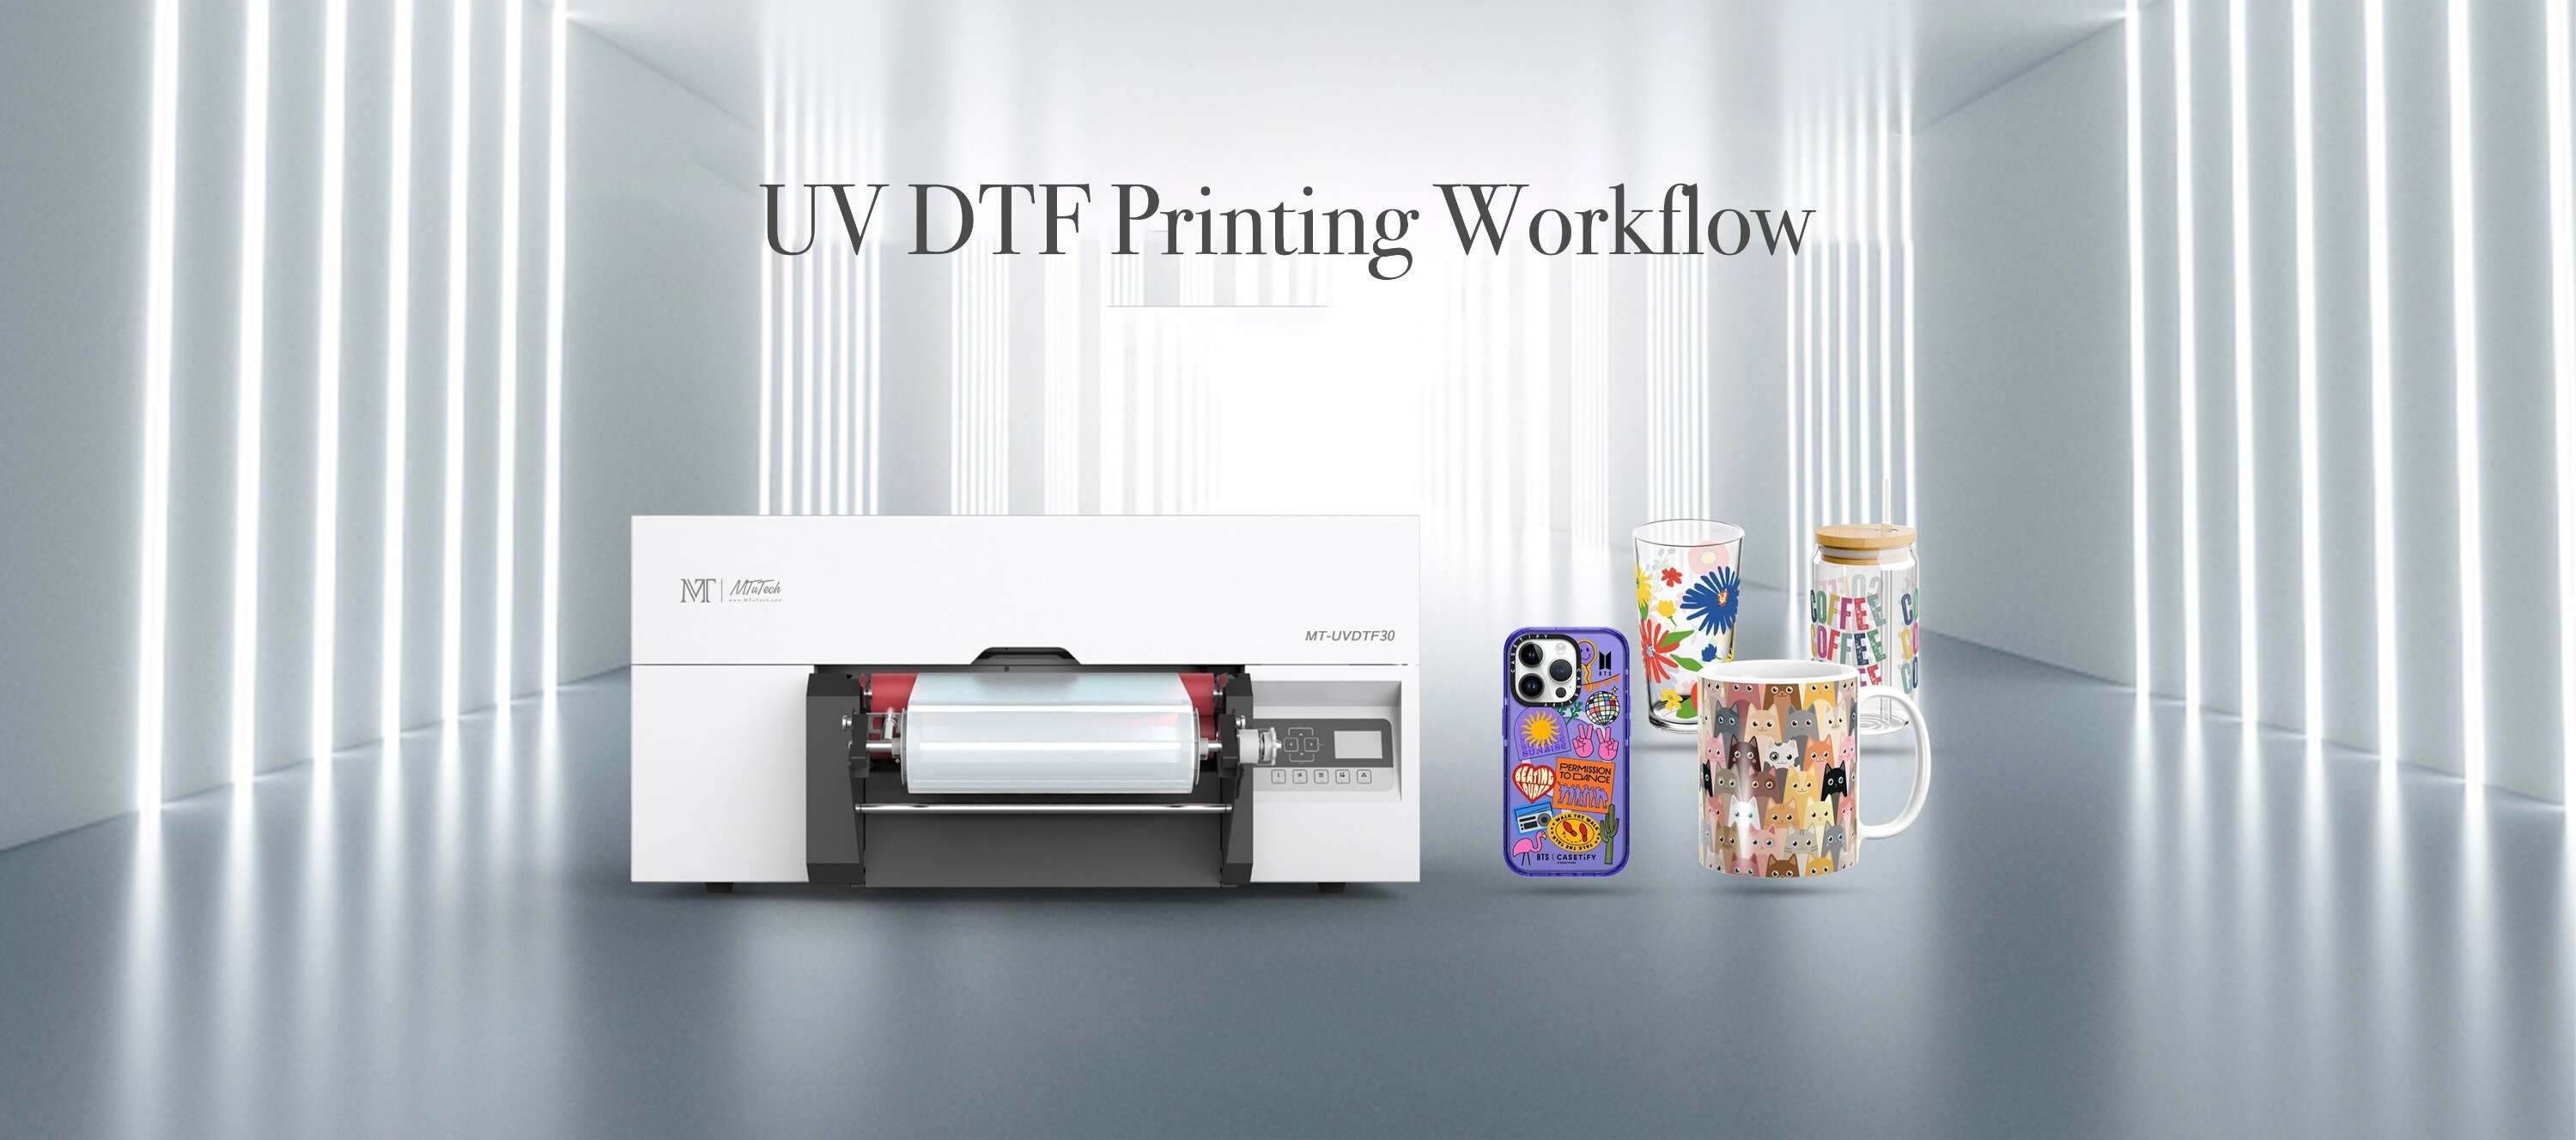
 Introduction
UV DTF printing offers an easy entry point into custom printing, but just like any technology, mistakes can cost time, money, and customer satisfaction. Whether you’re just starting out or already producing daily, avoiding these common pitfalls can save you frustration and help improve the quality and reliability of your prints. Let’s dive into the top mistakes to avoid in UV DTF printing — and how to fix them.
1. Poor Surface Preparation
- Skipping cleaning can leave oils or dust, preventing proper adhesion
✅ Always wipe surfaces with isopropyl alcohol before applying transfers
2. Incorrect Print Settings
- Using the wrong print resolution or ink layering can cause smudging or weak color
✅ Calibrate your RIP software and ensure you’re printing CMYK + white + varnish correctly
3. Inconsistent Lamination
- Bubbles and air gaps during lamination reduce transfer quality
✅ Use a roller or laminator and apply even pressure across the film
4. Rushing the Peeling Process
- Peeling too quickly can lift parts of the design or create misalignment
✅ Wait at least 30–60 seconds post-application before peeling B film slowly
5. Using the Wrong Adhesive Film
- Not all B films are equal. The wrong one can lead to failed adhesion
✅ Match your B film to the surface type and print requirements
6. Ignoring Curing Conditions
- If the ink doesn’t fully cure under UV light, the print won’t last
✅ Make sure your printer’s UV lamps are working and your speed settings are appropriate
7. No Test Prints
- Jumping into production without testing leads to avoidable waste
✅ Always test new designs, surfaces, or materials before bulk printing
Conclusion
Avoiding these UV DTF printing mistakes will make your workflow smoother, your prints cleaner, and your customers happier. Pay attention to setup, materials, and timing — and you’ll see the difference in both quality and efficiency.
❌ Skip the stress and print with confidence using our fail-safe UV DTF printer — designed to eliminate common errors and boost your printing success.