Introduction
Starting with UV DTF printing can feel overwhelming, but once your setup is dialed in, it becomes a smooth, creative workflow. Whether you're a beginner or transitioning from another print method, this setup guide walks you through each step — from unboxing to first print — so you can start creating right away without the trial-and-error.
What You’ll Need
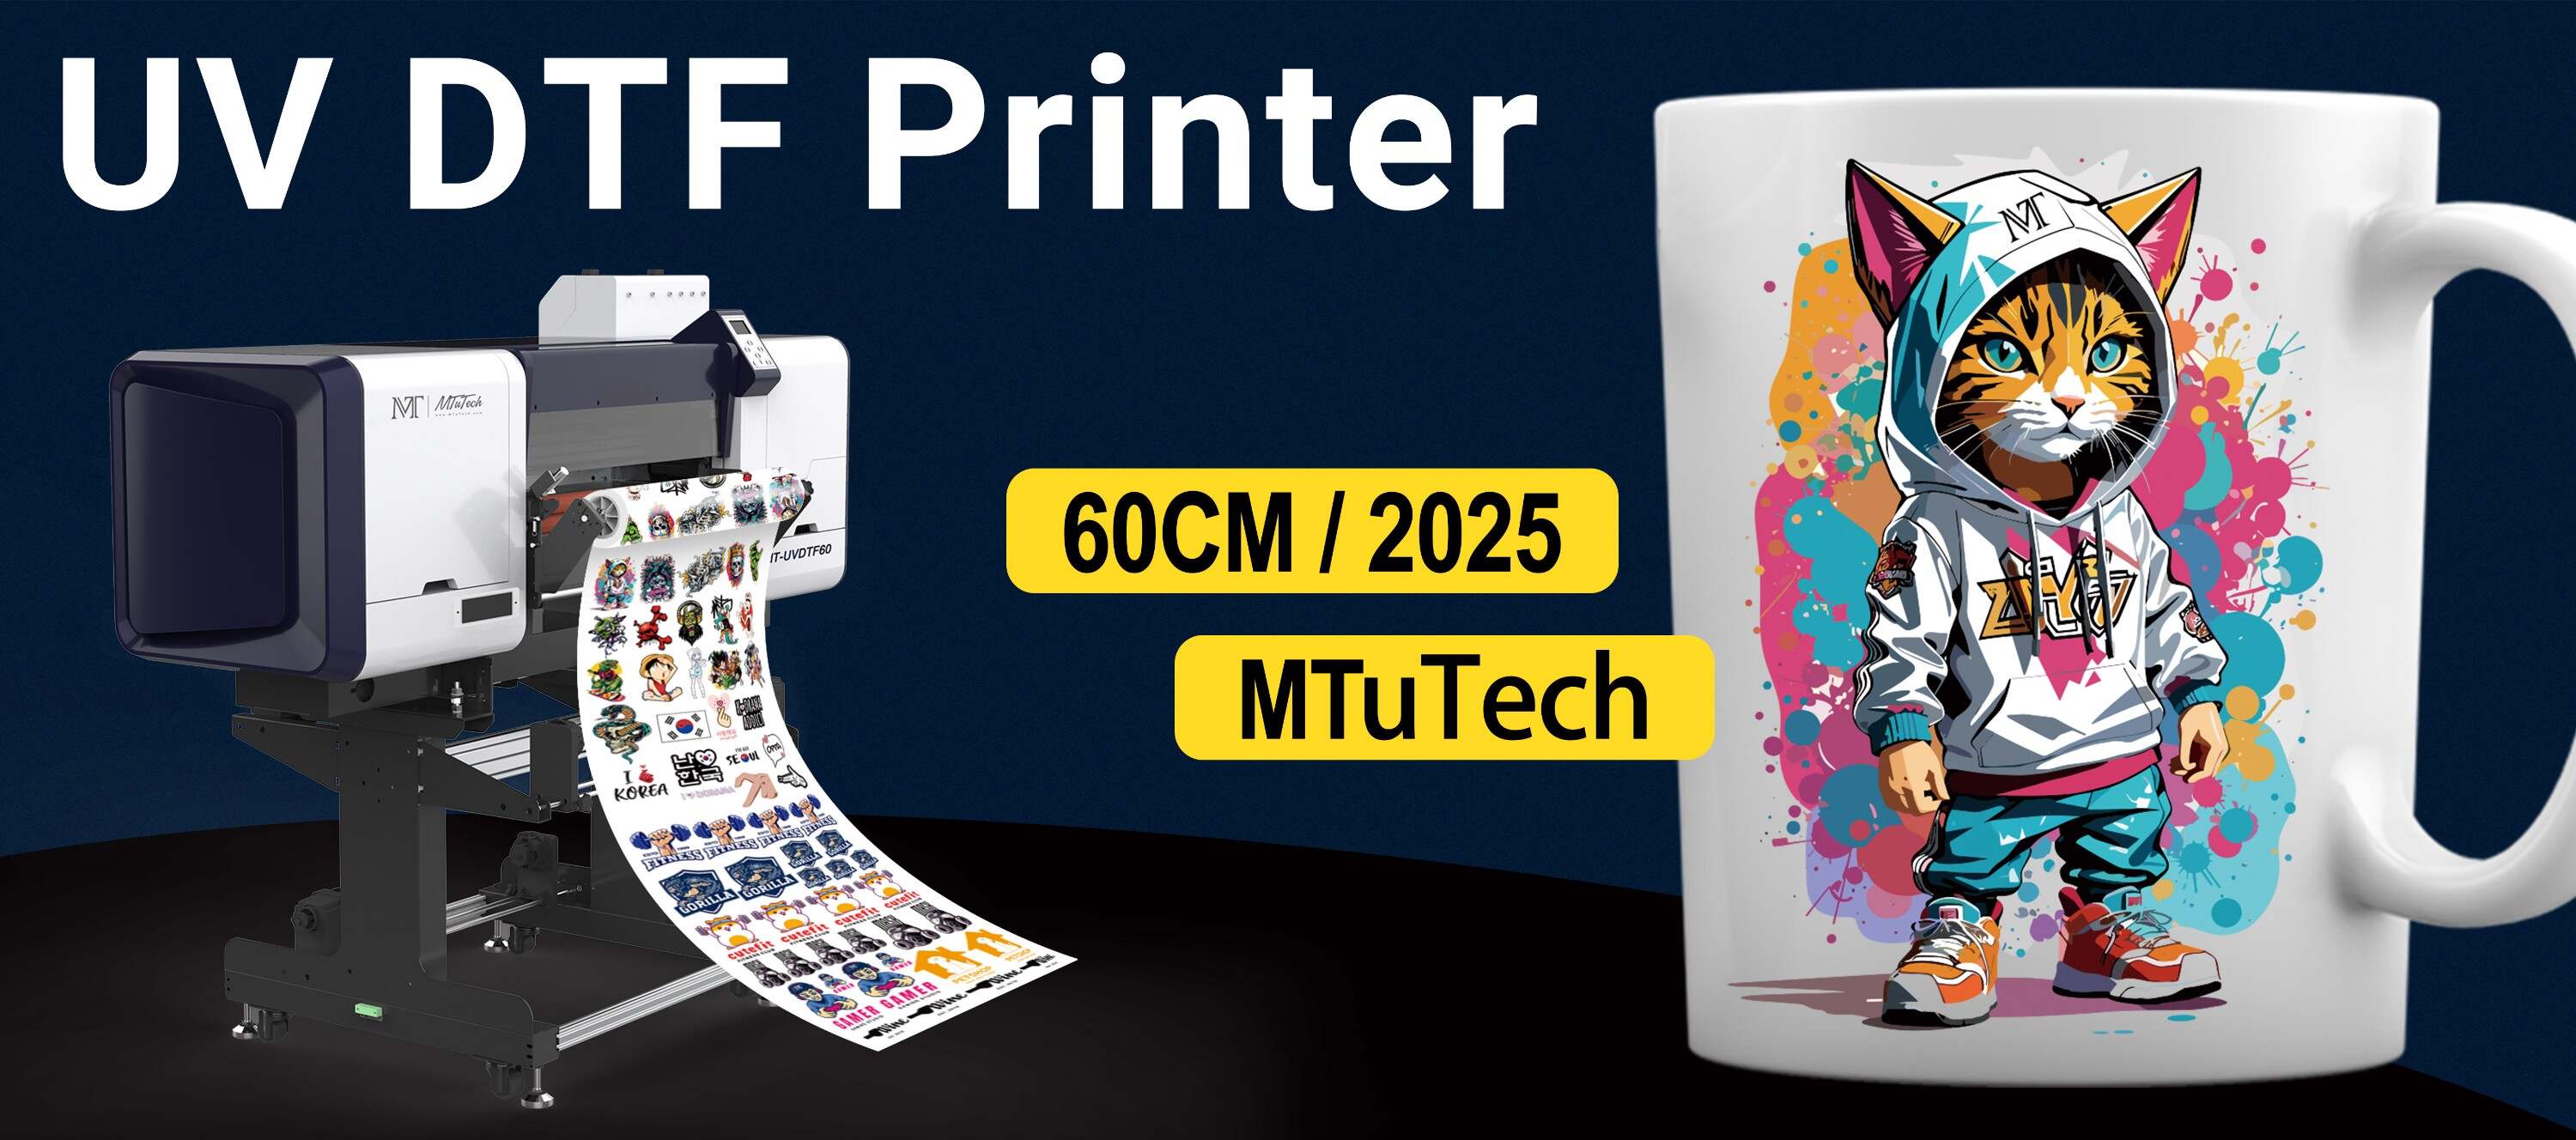
- UV DTF printer (with white, CMYK, and varnish channels)
- UV DTF A film and B film (adhesive laminate)
- UV inks (compatible with your printer)
- RIP software (e.g., FlexiPrint, Cadlink, etc.)
- Lamination roller or applicator
- Isopropyl alcohol and lint-free cloths for cleaning
Step 1: Unbox and Inspect Equipment
- Check printer for transit damage
- Ensure all cables, accessories, and ink tanks are included
- Place printer on a stable, dust-free surface with good ventilation
Step 2: Install Ink and Prime the System
- Pour UV inks into designated tanks
- Use the printer’s ink priming or circulation function to fill lines
- Run nozzle checks to ensure ink is flowing from all channels
Step 3: Load the UV DTF Film
- Load A film (print side up) into the tray
- Ensure it’s flat, clean, and free of dust or fingerprints
- Align media guides to prevent shifting
Step 4: Install and Configure RIP Software
- Install your RIP software and printer drivers
- Import your ICC profile and create a preset for UV DTF media
- Adjust ink limits, curing settings, and white underbase rules
Step 5: Test Print and Laminate
- Print a small design to test color and alignment
- Apply B film over A film using a roller or press
- Check clarity, color accuracy, and bubble-free lamination
Step 6: Apply the Print to a Test Surface
- Peel A film and apply design to a hard surface (glass, metal, etc.)
- Use firm, even pressure to remove air
- Peel off B film to reveal the final transfer
Maintenance Tips
- Keep ink lines clean and circulate ink daily if printer is idle
- Store films flat and dust-free
- Use gloves when handling transfers to prevent contamination
Conclusion
A smooth UV DTF setup is the foundation for high-quality results. Follow these steps to get up and running quickly, and you’ll be ready to explore everything UV DTF has to offer — from custom labels to curved product personalization.
Get started the right way with our easy-to-use UV DTF printer — perfect for beginners and professionals alike.