Common Challenges in Cylinder UV Printing and How to Solve Them
Introduction
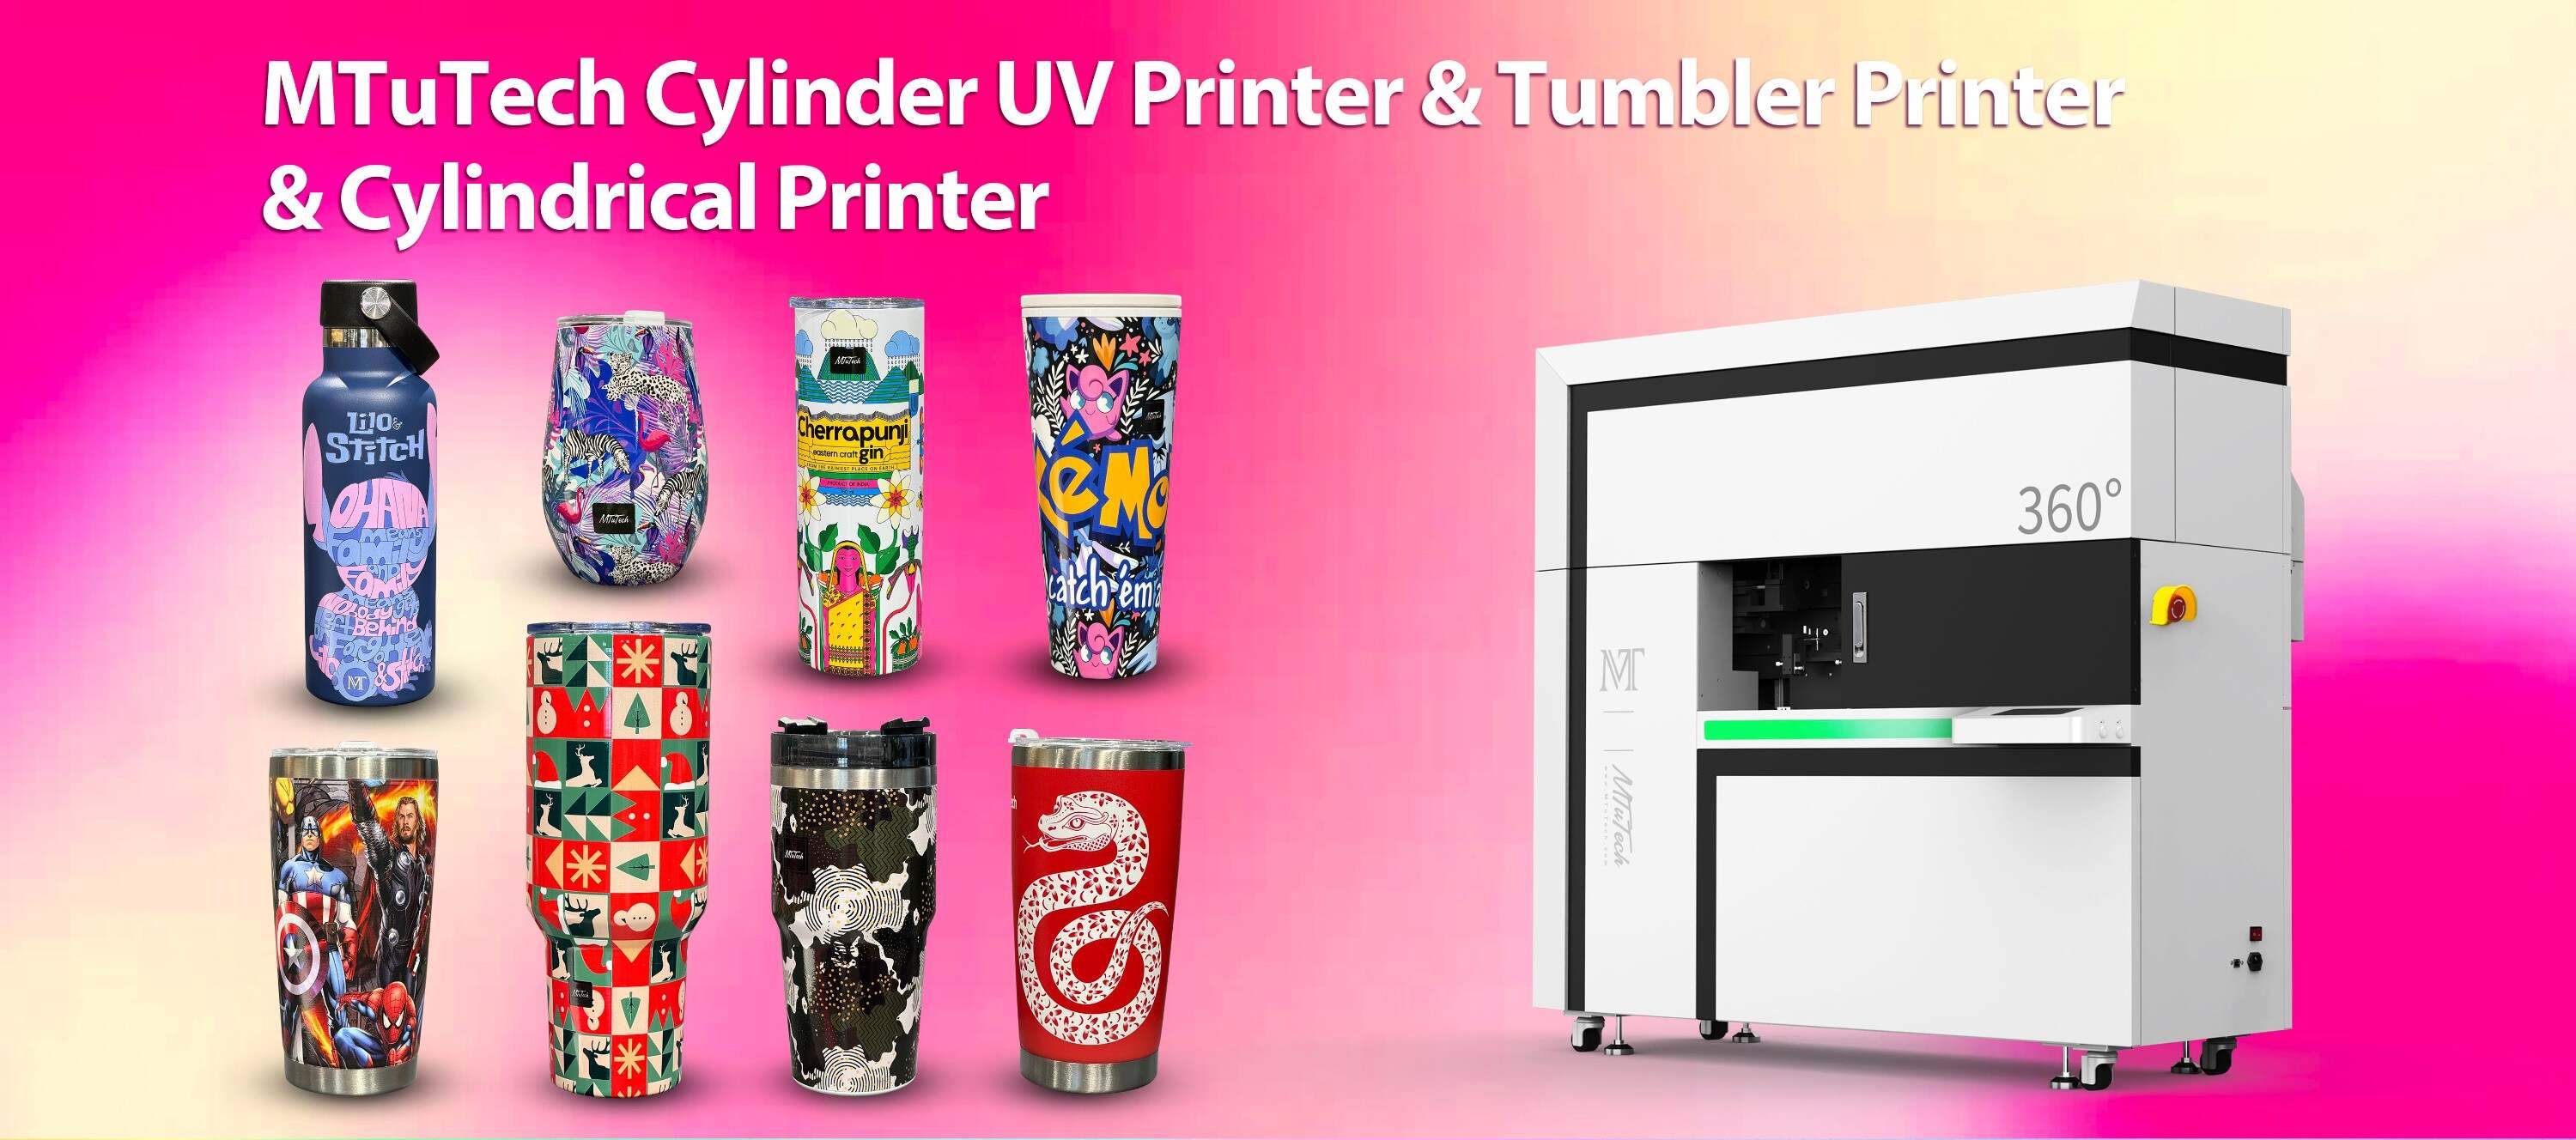
Cylinder UV printing is a powerful solution for customizing drinkware, bottles, cosmetic containers, and other cylindrical products. But like any printing process, it comes with its own set of challenges. From alignment issues to ink adhesion problems, new and experienced users alike can run into hurdles. In this blog, we’ll explore the most common challenges in cylinder UV printing and share practical solutions to help you print flawlessly every time.
Challenge 1: Misalignment of Prints
Misalignment occurs when the print doesn't wrap evenly around the cylindrical surface, resulting in skewed or incomplete images. This usually happens due to improper fixture adjustment or incorrect file setup.
Solution
Use accurate measurement tools to calculate the cylinder’s diameter and circumference. Align the artwork accordingly in your RIP software and double-check the rotation axis on your machine. Ensure the object is firmly secured and level before starting the print job.
Challenge 2: Ink Not Adhering Properly
Sometimes, UV ink fails to bond properly with the substrate, especially on glossy or coated surfaces like stainless steel or glass.
Solution
Clean the surface thoroughly with isopropyl alcohol to remove oils and dust. For tricky surfaces, use adhesion promoters or primers that enhance the bond between ink and substrate. Always use inks that are compatible with the materials you’re printing on.
Challenge 3: Banding or Streaking
Horizontal lines or streaks across the print indicate an issue with the printhead, media feed, or ink delivery system.
Solution
Perform regular nozzle checks and cleaning routines to ensure the printhead is functioning correctly. Make sure the media feed is smooth and consistent. Adjust ink flow and head height according to the surface curvature.
Challenge 4: Ink Overcuring or Undercuring
Improper curing can either leave the ink tacky or cause cracking and flaking. This is often due to incorrect UV lamp intensity or curing time.
Solution
Adjust your UV lamp settings to match the print speed and ink formulation. Conduct sample tests to determine optimal curing time and intensity. A balance is essential to achieve strong adhesion without brittleness.
Challenge 5: Difficulty Printing on Uneven or Tapered Cylinders
Tapered containers or those with varying diameters can be challenging as standard fixtures may not provide a stable hold.
Solution
Use custom jigs or rotary attachments designed to grip tapered or uneven surfaces. Ensure the machine supports height adjustments for consistent print quality across the surface.
Challenge 6: Print Cracking After Application
Cracking can occur due to ink brittleness, excessive curing, or surface tension issues.
Solution
Select inks that are designed for flexible surfaces. Avoid over-curing and ensure the object isn’t subjected to sharp bending or impact right after printing.
Conclusion
While cylinder UV printing can seem technical, most challenges are manageable with the right tools, settings, and preparation. Understanding the root causes and having a structured workflow will drastically reduce errors and improve output quality. By proactively solving these common issues, you can keep your operations smooth and your prints consistently professional.
For more insights into advanced rotary UV systems, explore our detailed article on the cylinder UV printer and see how it transforms custom product decoration across industries.