How to Print Tumblers with Metallic and Glitter Effects
Introduction
Adding metallic and glitter effects to tumblers isn’t just about aesthetics—it’s about creating products that dazzle, stand out, and command premium pricing. Whether you're selling personalized drinkware or crafting high-end promotional products, learning to master these effects can take your tumbler printing business to the next level. In this blog, we’ll explore step-by-step how to print tumblers with metallic and glitter finishes that look polished and professional.
1. Understand the Science Behind the Shine
- **Metallic Effects**: These are created by layering metallic pigments or reflective foils beneath or within the ink layer.
- **Glitter Effects**: Glitter is typically embedded within clear coats or added via special vinyl overlays or laminates.
- Your tumbler printer must support high-opacity inks and precise layering techniques for both.
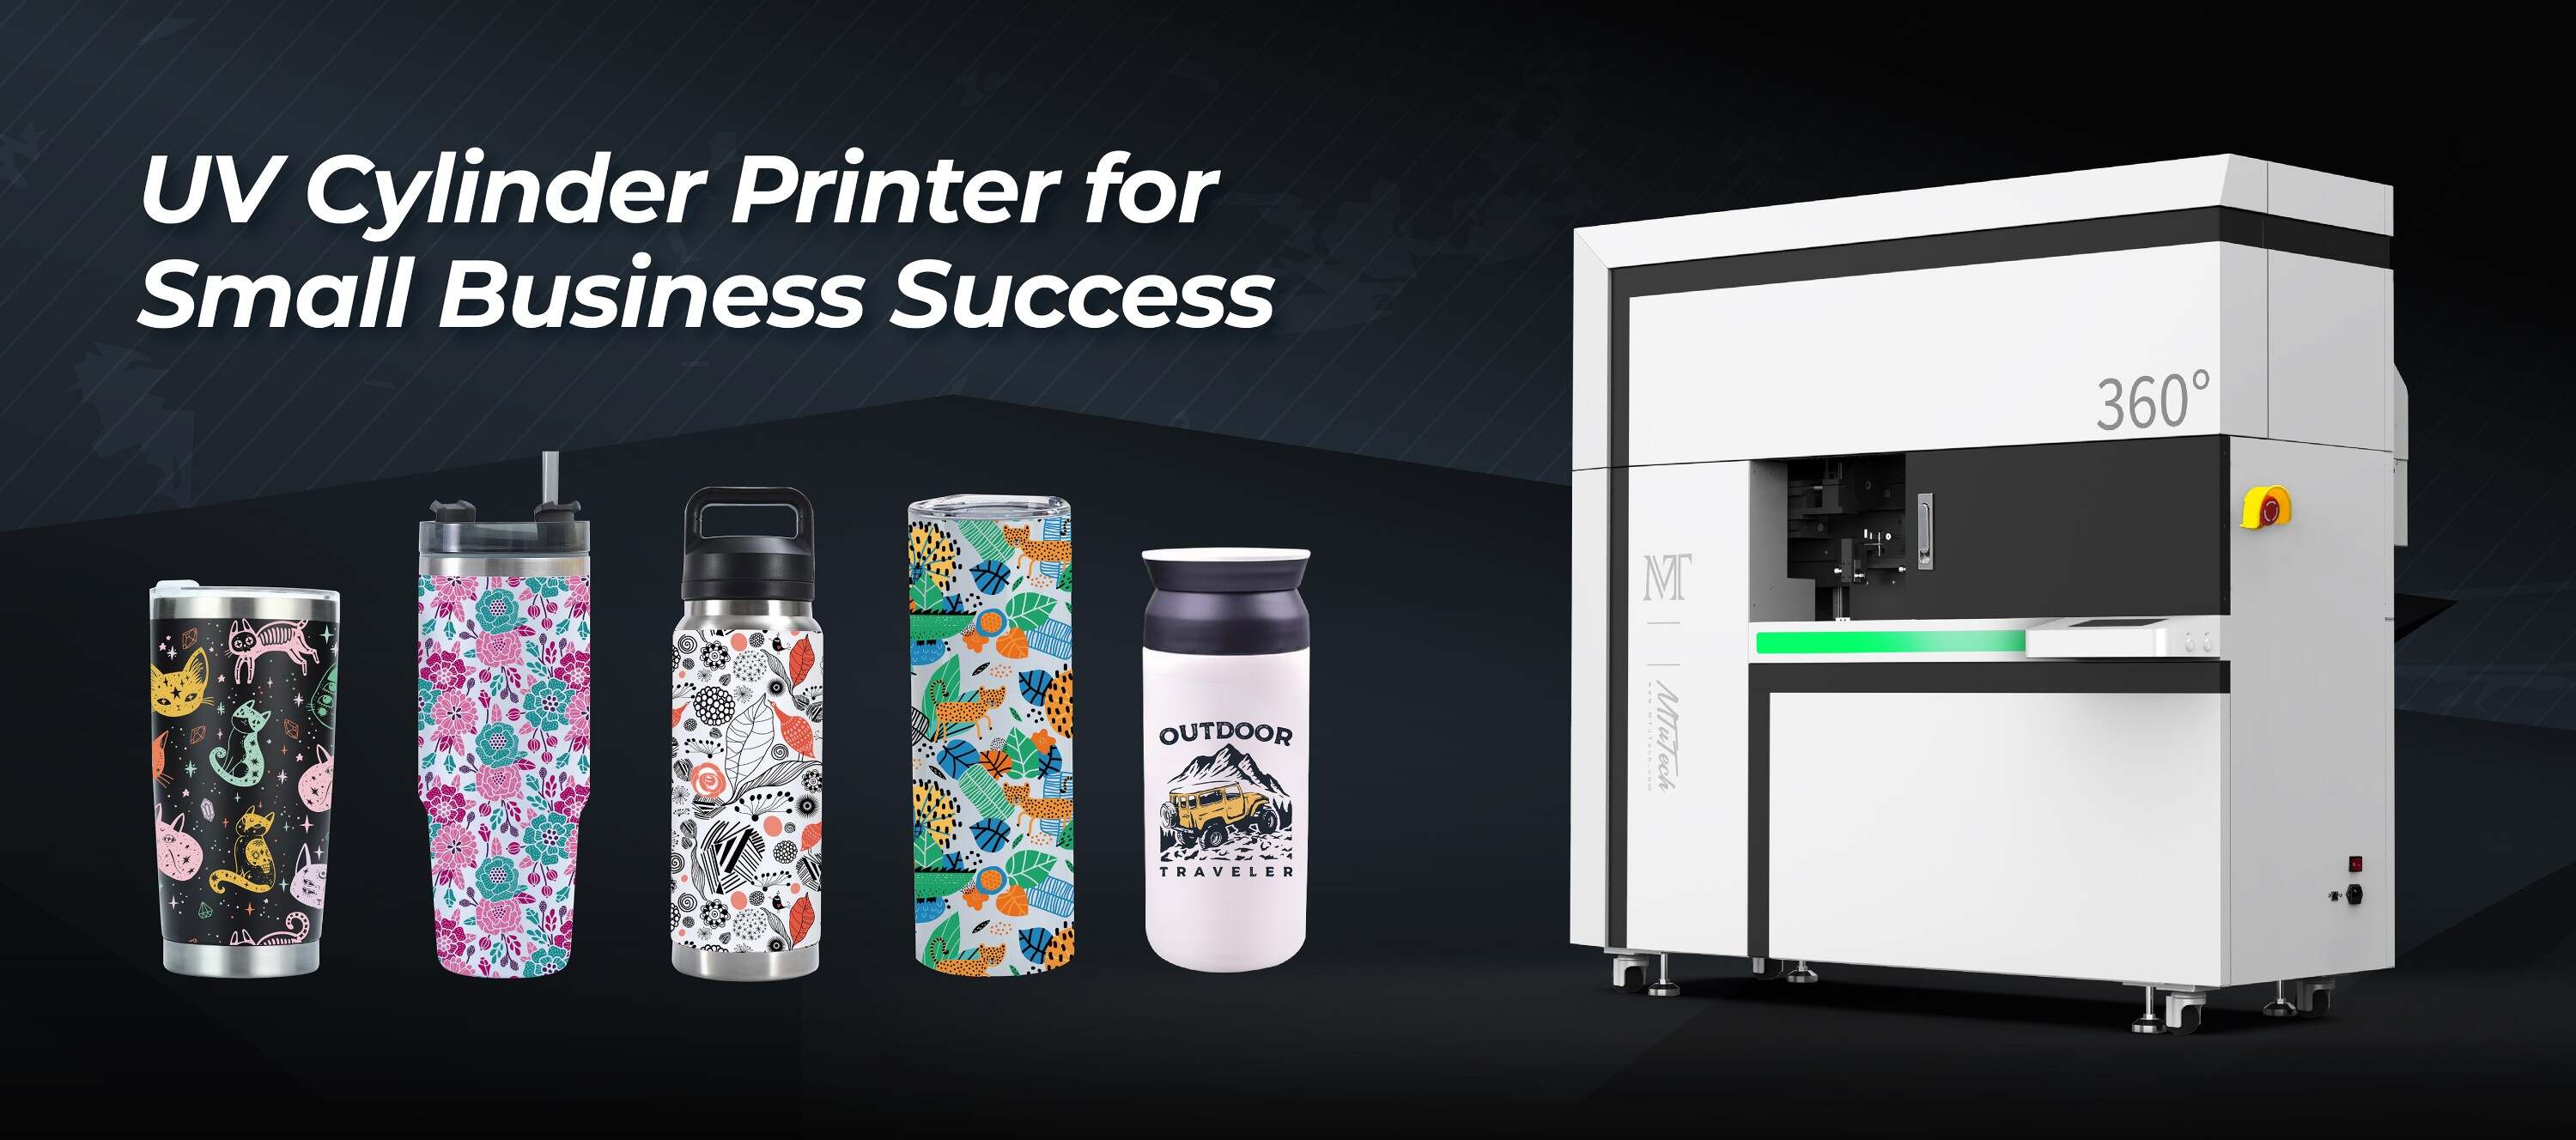
2. Choose the Right Printer and Ink
- Use a UV tumbler printer that supports white and varnish layering.
- White ink is essential when printing on dark or metallic substrates to enhance contrast.
- For glitter effects, use varnish layering and mix-in glitter media that’s approved for UV applications.
3. Material Selection Matters
- Stainless steel or glossy-coated tumblers are ideal for metallic effects.
- Matte or transparent tumblers can be used for layered glitter finishes that pop with varnish overlays.
- Ensure the surface is compatible with UV ink adhesion—clean, oil-free, and non-textured.
4. Preparing the Design
- Create multiple design layers: base color, metallic or glitter layer, top graphics.
- Use your RIP software to assign each section a separate pass—base, metallic/glitter, varnish.
- Metallic effects often use halftone gradients and overlays for reflective depth.
5. Print Settings for Best Results
- Set slower pass speeds to ensure even layering without bubbling.
- Adjust curing power for thicker inks and varnishes, especially on curved surfaces.
- Use the preview mode in your software to detect gaps or overprints before starting the job.
6. Post-Processing for Extra Shine
- After printing, inspect for smudges or uneven varnish flow.
- For glitter finishes, add a clear coat layer for added durability and sparkle.
- Use UV gloss varnish selectively to highlight design elements like text or icons.
7. Tips to Avoid Common Mistakes
- Always test glitter/metallic media with your printer beforehand.
- Don’t overuse glitter—balance sparkle with readability and design clarity.
- Let customers know that handwashing is best to preserve finishes.
8. Market and Monetize
- Metallic and glitter tumblers sell well during holidays, weddings, bachelorette parties, and corporate gifting seasons.
- Position them as “luxury,” “limited edition,” or “custom-designed” to charge higher rates.
- Offer bulk discounts for bridal parties or branded giveaways.
Conclusion
Mastering metallic and glitter effects takes practice, but it’s worth the investment. With the right tools, techniques, and creativity, you can transform your tumblers into eye-catching showpieces. These advanced finishes not only delight customers—they also help you stand out in a competitive marketplace.
✨ Want flawless metallic and glitter results? Our tumbler printer delivers consistent results with advanced layering technology.