How to Create UV DTF Transfers That Pop with Color
Introduction
One of the biggest advantages of UV DTF printing is the ability to produce ultra-vibrant, full-color transfers that grab attention. Whether you’re decorating bottles, phone cases, or custom packaging, color intensity and detail can make or break your product. In this guide, we’ll walk you through everything you need to know to create UV DTF transfers that truly pop.
Start with High-Resolution Artwork
- Use 300 DPI designs for sharp results
- Avoid blurry JPGs or compressed images
- Vector files (AI, SVG, EPS) are best for logos and text
Use the Right Color Mode and Profiles
- Design in RGB for vibrant color previews, but RIP software will convert to CMYK
- Calibrate your monitor to match print output
- Use ICC profiles recommended by your UV DTF printer or ink supplier
Optimize White Ink Layers
- White ink acts as the base that lifts color on dark or transparent surfaces
- In your RIP software, ensure proper white underbase is applied behind all visible colors
- Too much white = stiffness and cracking; too little = faded appearance
Layer with Varnish for Gloss and Pop
- Add varnish as the final printed layer to create a shiny, professional finish
- Varnish enhances color depth, clarity, and durability
- Can be used selectively for raised effects or spot gloss looks
Laminate Smoothly to Preserve Detail
- Always apply the B film smoothly over A film to avoid distortion
- Use a roller for even pressure and no air bubbles
- Let the adhesive cure slightly before applying
Color Test Swatches Regularly
- Print color charts on your UV DTF setup to track ink behavior over time
- Compare new batches of ink or film to maintain consistency
- Adjust RIP settings based on climate or substrate changes
Tips for Maximum Visual Impact
- Use bold color palettes, high contrast, and clean lines
- Avoid overcrowded designs — give elements room to breathe
- Include subtle shadows or highlights to add depth
Conclusion
Creating UV DTF transfers that pop isn’t about just hitting 'print' — it’s a combination of good design, optimized settings, and understanding your printer’s capabilities. Get these elements right, and your work will stand out every time.
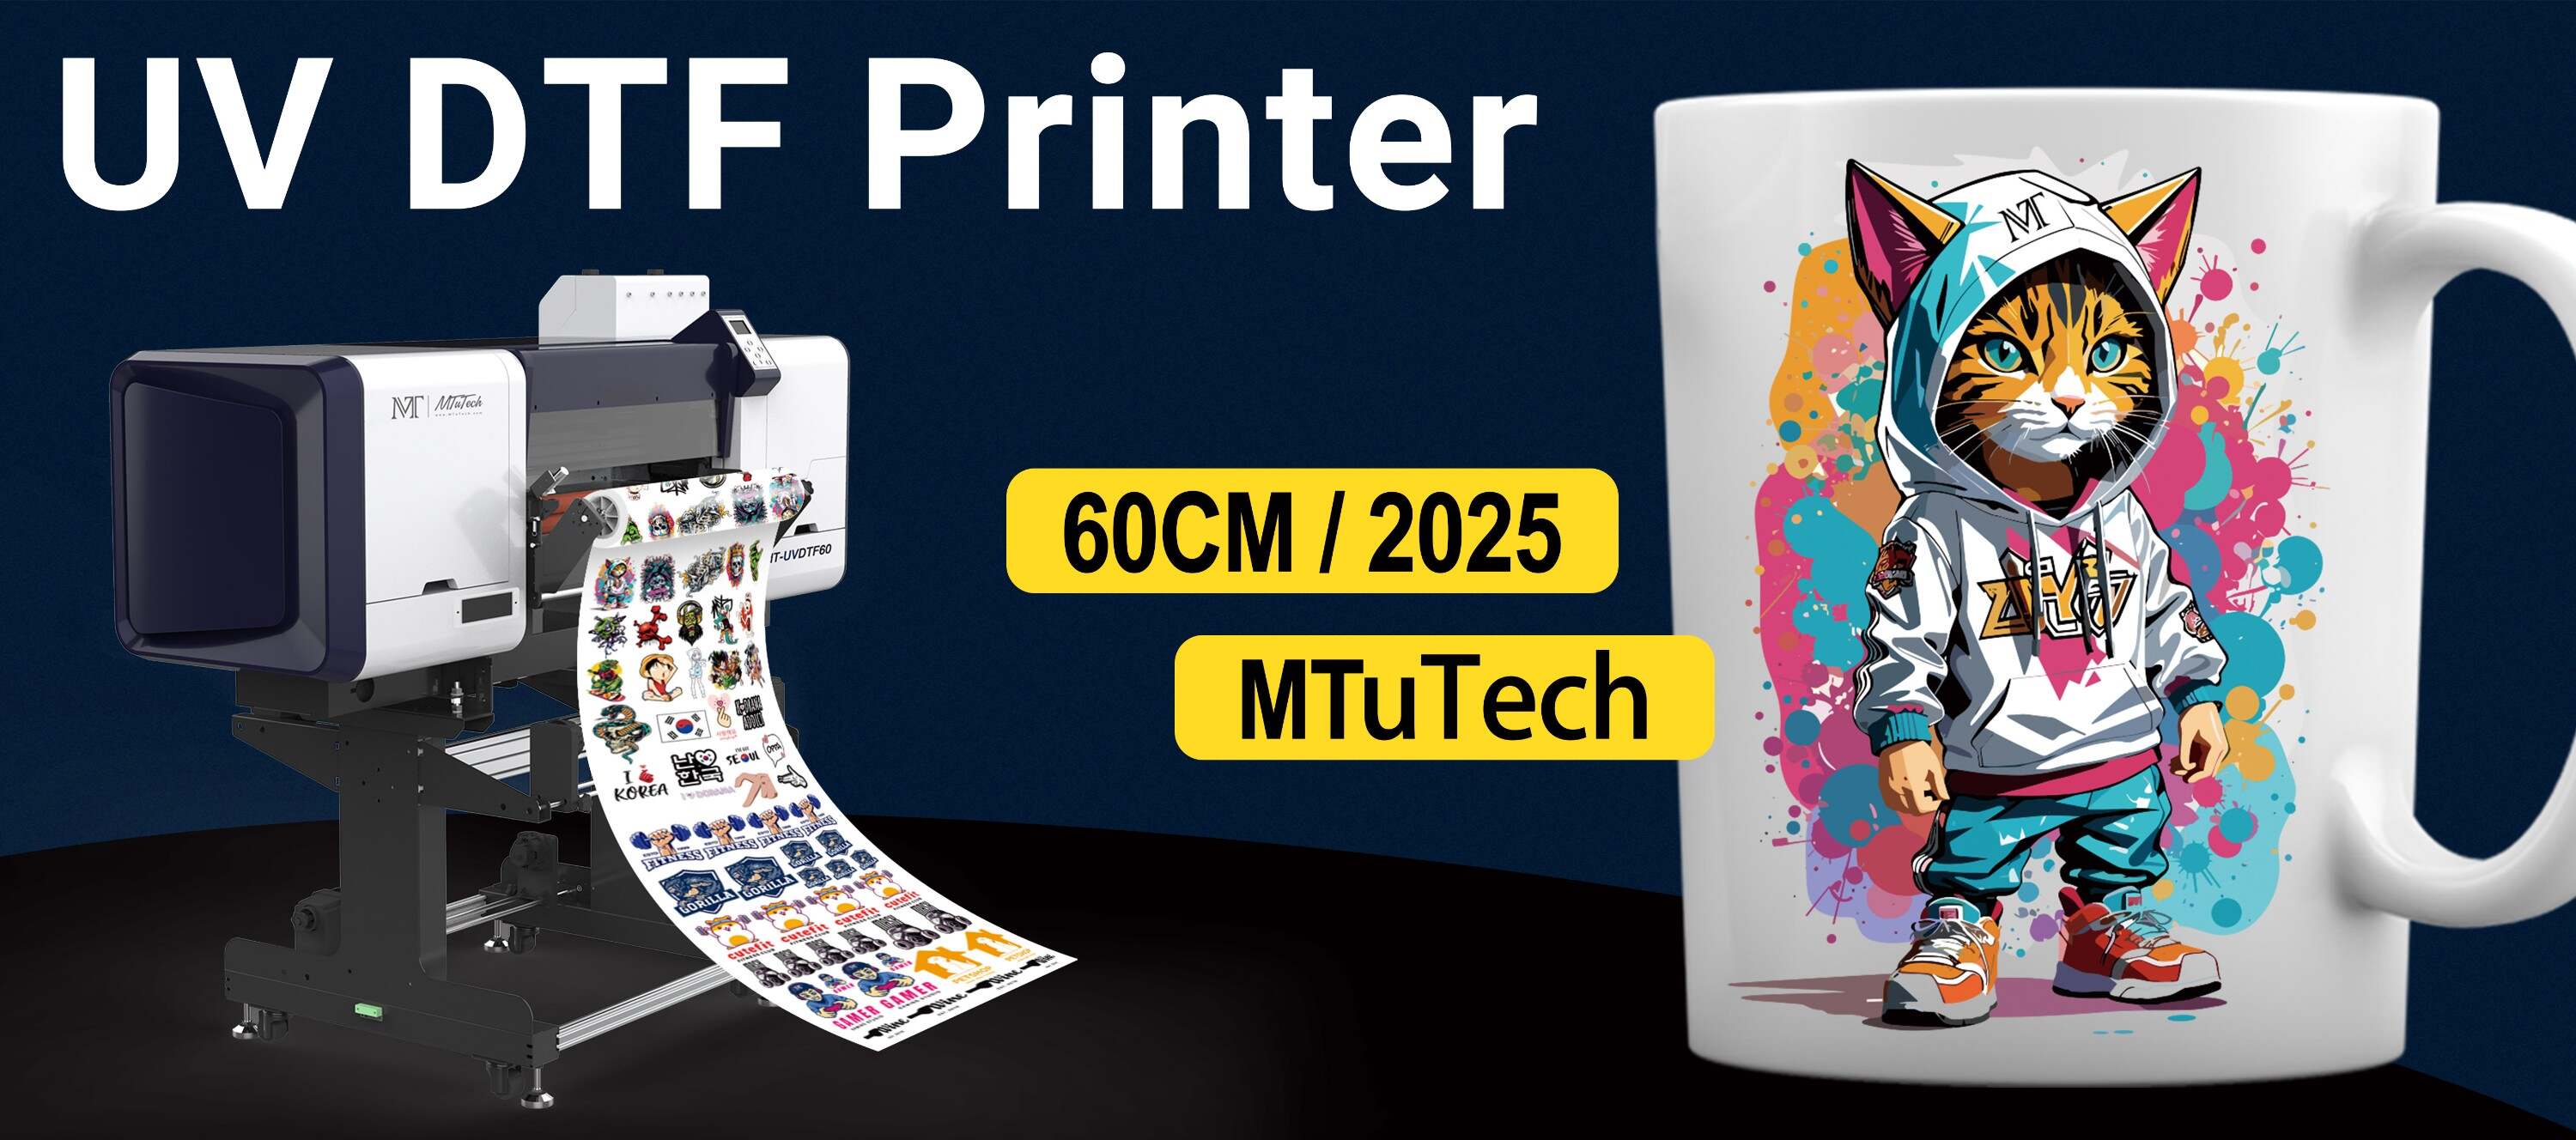
For high-definition prints that stand out, check out our advanced UV DTF printer — engineered for color brilliance and precision layering.

